Freestyle tricks
Setting up freestyle in a script
Freestyle is not enabled by default in Blender. We can use the utility function
ddg.blender.freestyle.freestyle_settings() to initialize it.
fs_settings = ddg.blender.freestyle.settings()
This enables freestyle and returns an instance of the class bpy.types.FreestyleSettings. You can access its attributes if needed.
fs_settings.as_render_pass = False
fs_settings.use_smoothness = False
Enabling freestyle is not enough, we must create at least one freestyle line set. We can do this using the utility function ddg.blender.freestyle.lineset().
fs_lineset = ddg.blender.freestyle.lineset(fs_settings, "Freestyle Line")
It returns an instance of the class bpy.types.FreestyleLineSet.
Using the utility functions ddg.blender.freestyle.lineset_to_marked_visible() and ddg.blender.freestyle.lineset_to_marked_hidden() we can assign the line set to either the visible lines or the hidden lines in the scene.


ddg.blender.freestyle.lineset_to_marked_visible(fs_lineset)
For more control, we can directly access the attributes of the line set.
fs_lineset.select_border = True
fs_lineset.select_crease = True
To style the line set, e.g. change its color or line thickness, we create a line style using the function ddg.blender.freestyle.linestyle(). It returns an instance of the class bpy.types.FreestyleLineStyle which we assign to the line set.
fs_linestyle = ddg.blender.freestyle.linestyle("Freestyle Line Style")
fs_linestyle.color = (1, 1, 0)

# Assign line style to line set
fs_lineset.linestyle = fs_linestyle
We also have the utility functions ddg.blender.freestyle.linestyle_to_plain() and ddg.blender.freestyle.linestyle_to_dashed() that define a plain line style or a dashed line style and assign it to a line set.
ddg.blender.freestyle.linestyle_to_dashed(fs_linestyle, thickness=1, dash=6, gap=15)


Note that a scene can have multiple line sets and multiple line styles. It is possible to assign a line set only to a particular collection of Blender objects as shown below.
# Create collection
ddg_collection = ddg.blender.collection.collection(name="DDG Collection")

fs_lineset.select_by_collection = True
fs_lineset.collection = ddg_collection
Of course you can also play with all of this in the Blender GUI, in the Render Properties and View Layer Properties panels.
Enabling freestyle for curves
One of Blender’s many quirks is that freestyle does not work for curves or edges of a
mesh which do not belong to a large enough face. But we can trick Blender by creating
tiny faces and marking one of the two edges as freestyle. This is what the function
ddg.blender.freestyle.freestylify_curve() does.
The function can handle both polygonal curves and 1D mesh objects. Here are two functions that can set up examples for either case for you:
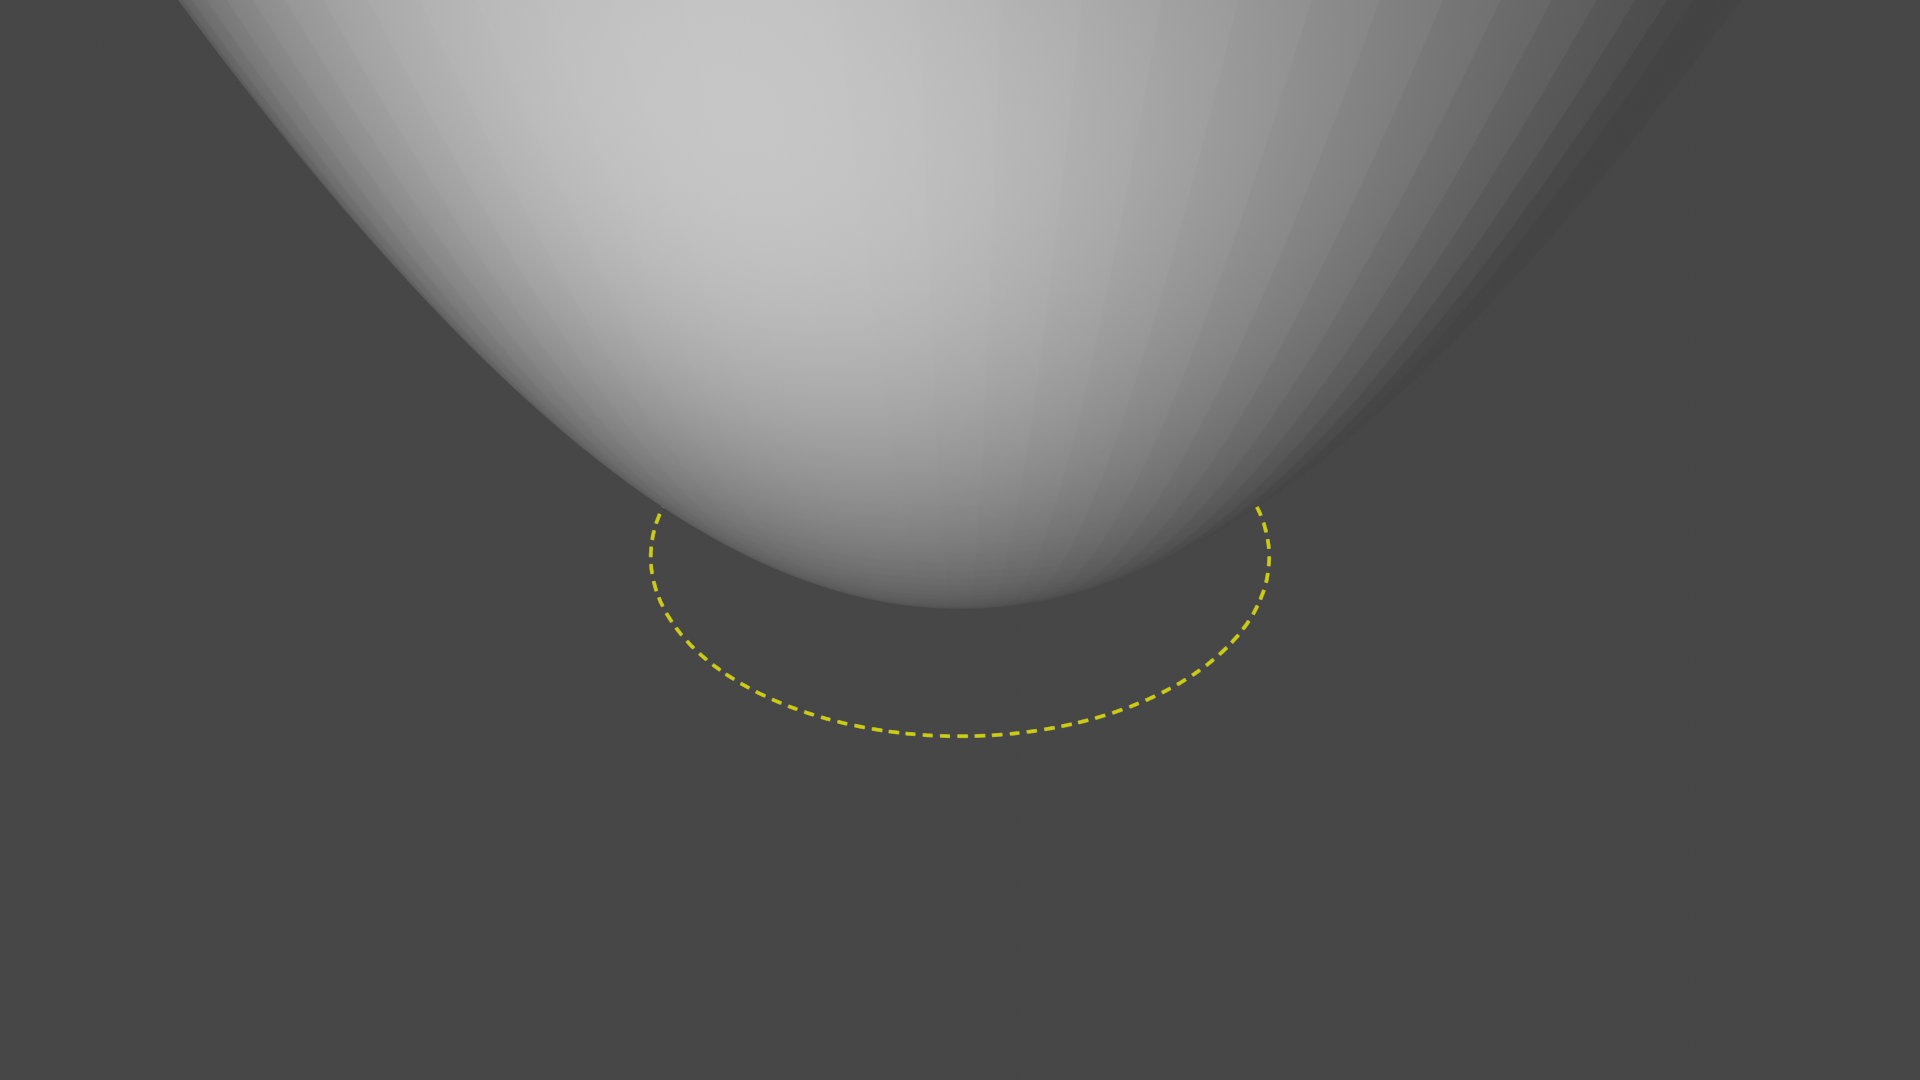
def curve_example():
    # Create a paraboloid
    M = ddg.geometry.signatures.AffineSignature(3, 1, 0, last_entry="parabolic").matrix
    paraboloid = ddg.geometry.Quadric(M)
    # Make paraboloid point upward instead of downward
    paraboloid_transformed = paraboloid.transform(np.diag([1, 1, -1, 1]))
    ddg.blender.convert(
        paraboloid_transformed,
        "paraboloid",
        surface_sampling=(100, 0.05),
    )
    # Create a blender curve object
    bpy.ops.curve.primitive_bezier_circle_add(
        radius=1.0, location=(0.0, 0.0, 0.0), rotation=(0.0, 0.0, 0.0)
    )
    circle_curve = bpy.context.active_object
    return circle_curve
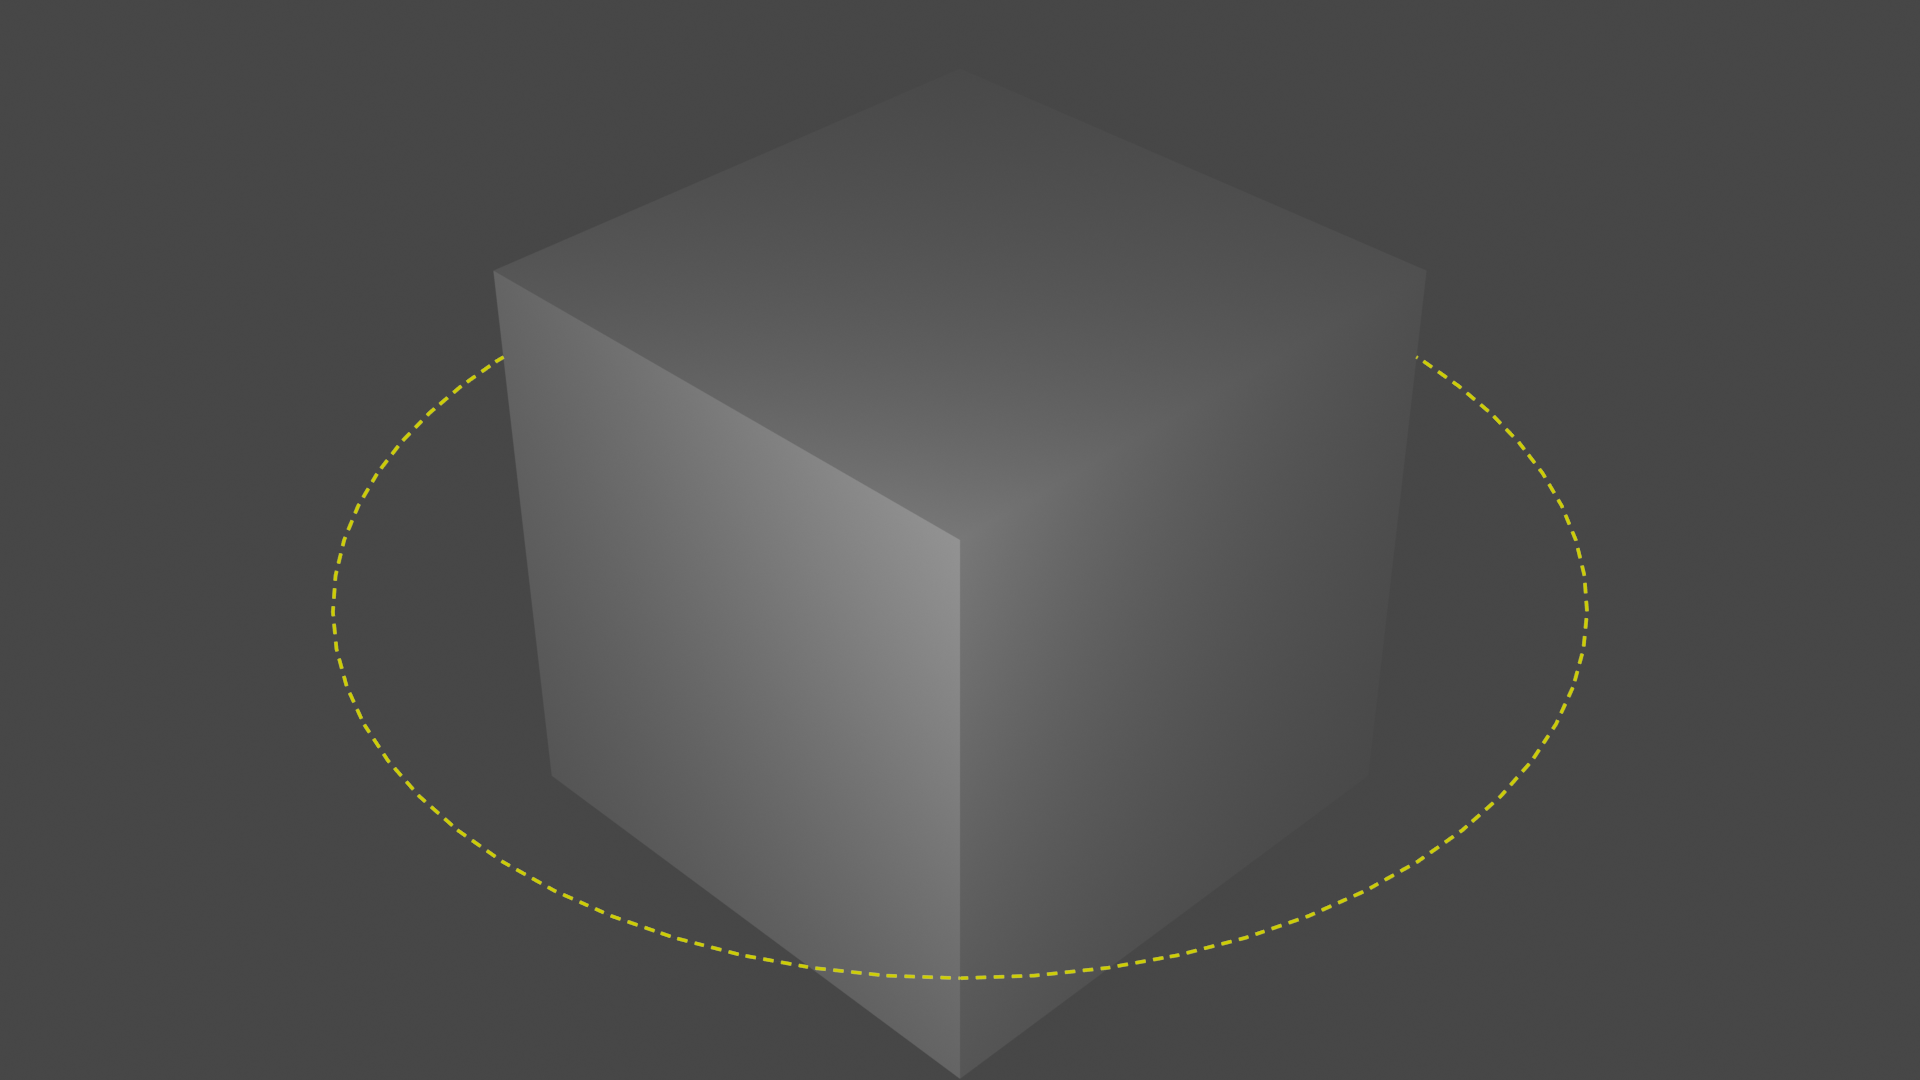
def mesh_example():
    bpy.ops.mesh.primitive_cube_add()
    bpy.ops.mesh.primitive_circle_add(vertices=64, radius=2)
    return bpy.context.scene.objects["Circle"]
Important
When generating Blender object for curves, we must set curve_properties={}. Having
a curve Blender object with any sort of properties will generate freestyle borders for
a tube instead!
The following code runs the function on a curve and hides the original curve in the render. You might or might not want to hide the original curve, depending on your situation.
curve = curve_example()  # use mesh_example() for the other example
ddg.blender.freestyle.freestylify_curve(curve)
curve.hide_render = True
Now we define a line set, set up its attributes manually and style it.
curve_lineset = ddg.blender.freestyle.lineset(fs_settings, "Freestyle Curve Line")

# Set up attributes of line set manually
curve_lineset.select_by_visibility = True
curve_lineset.select_edge_mark = True
curve_lineset.select_silhouette = False
curve_lineset.select_crease = False
curve_lineset.select_border = False
curve_lineset.select_contour = False
curve_lineset.select_external_contour = False
curve_lineset.select_material_boundary = False
curve_lineset.select_suggestive_contour = False
curve_lineset.select_ridge_valley = False

# Define dashed yellow line style
curve_linestyle = ddg.blender.freestyle.linestyle("Freestyle Line Style")
ddg.blender.freestyle.linestyle_to_dashed(curve_linestyle, dash=10, gap=8)
curve_linestyle.color = (1, 1, 0)

# Assign line style to line set
curve_lineset.linestyle = curve_linestyle
We can do a little bit of camera and light setup:
camera = ddg.blender.camera.camera(location=(5, 5, 5))
ddg.blender.camera.look_at_point(camera, (0, 0, 0))
light = ddg.blender.light.light(location=(3, 2, 2), type_="POINT", energy=80)
and we end up with these pictures for the curve and mesh examples:
Exporting freestyle edges as SVG
Check out the Freestyle SVG Exporter plugin. Everything is explained there.