Rendering
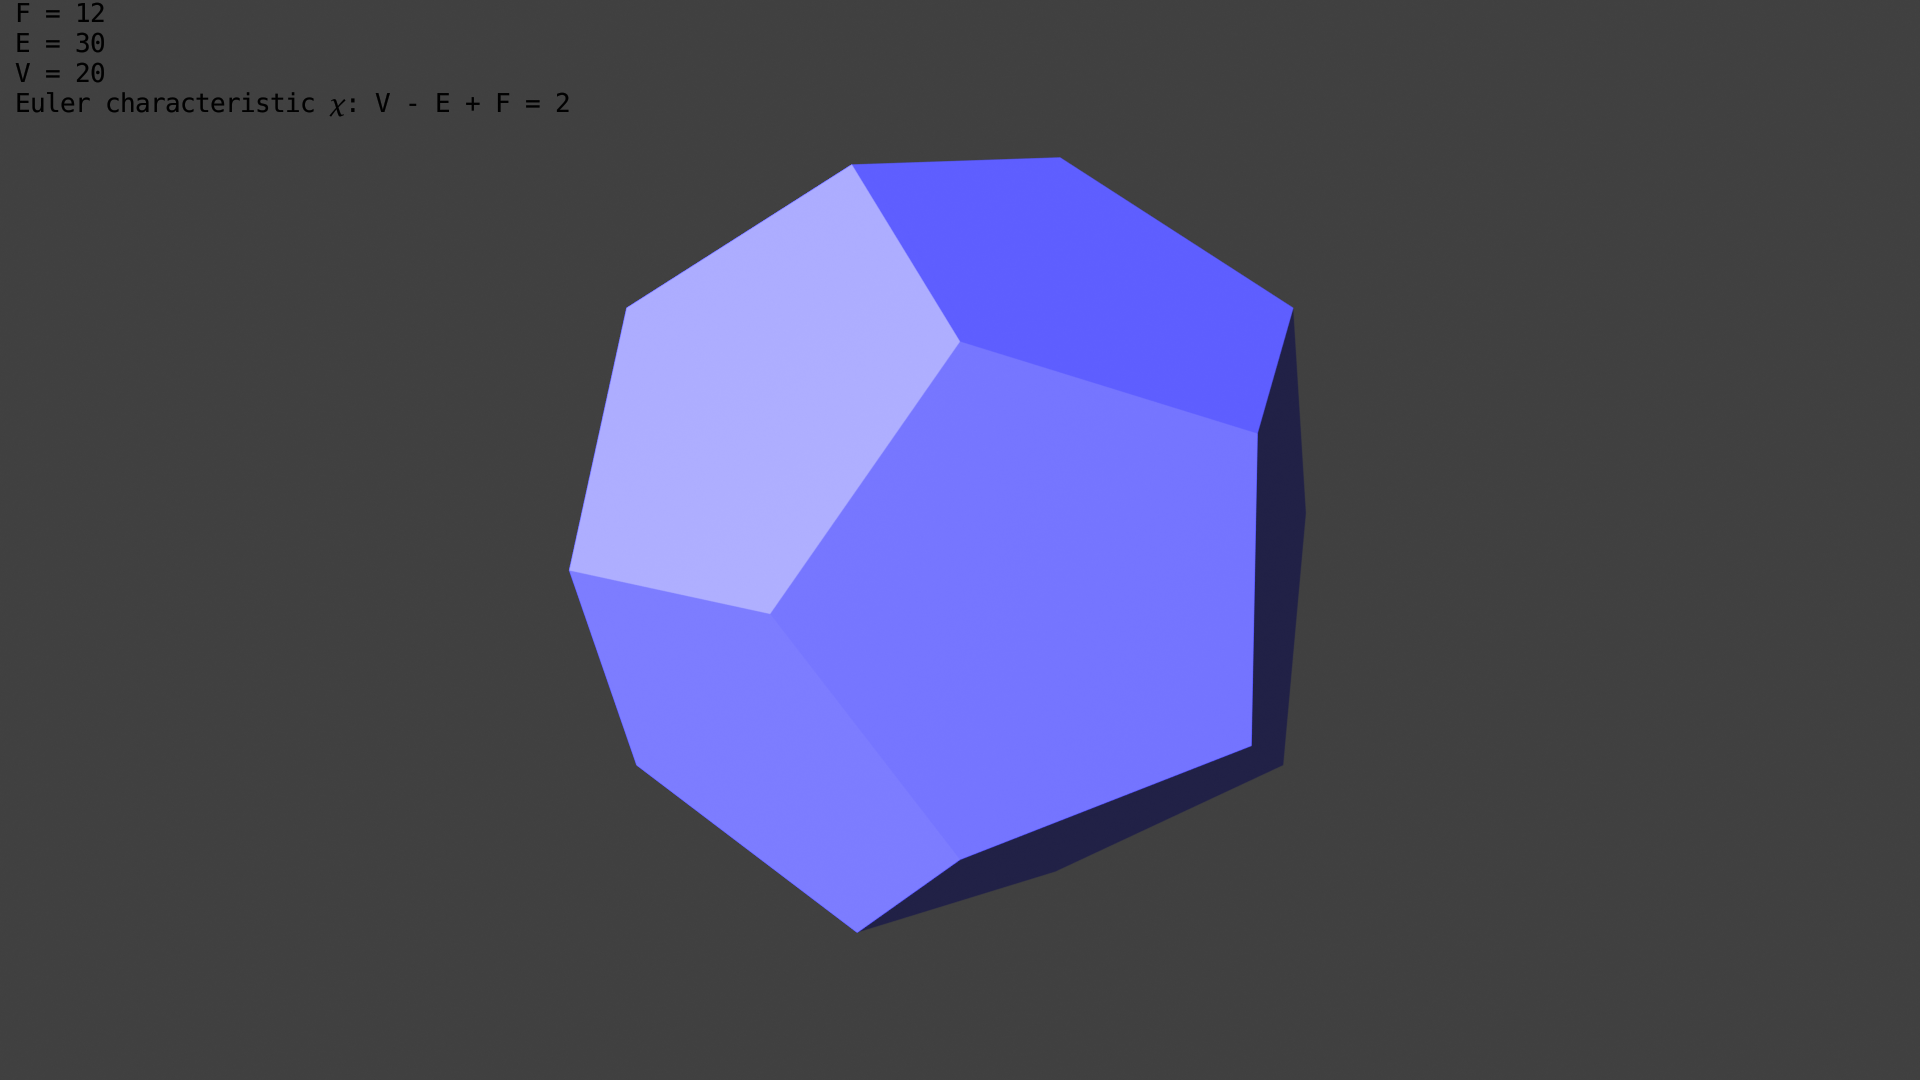
After creating one, or multiple, Blender objects, assigning them materials and adding cameras and lights to the scene it is time to render images. This guide explains options for setting things up, how to render images, and how to post process them. It also includes information on how to render animations. A lot more information for rendering in Blender’s GUI can be found in Blenders Rendering docs.
Rendering Setup
Manual Setup
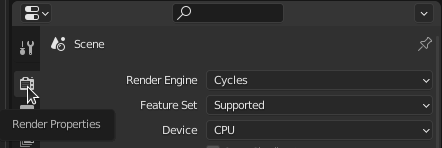
You can setup your rendering properties in the Blender GUI. You can find them in the “Properties” editor under “Render Properties”.
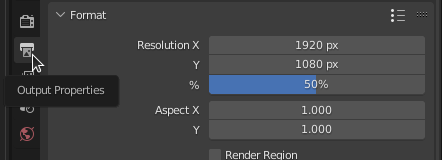
The output properties window can be found right below the render properties. Here you can change the resolution of the image. While experimenting and finding the right picture it can be convenient to scale down the resolution.
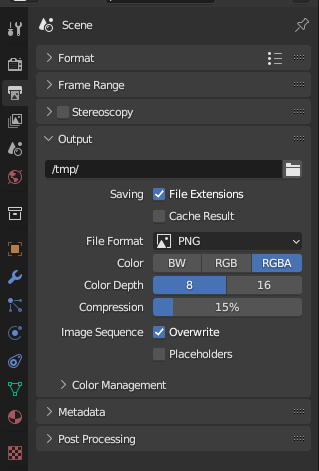
Further, under output you can specify an output directory, the file format and the color. For directly rendering an animation (not recommended) you have to select a movie output format. For an image with transparency you have to select an image output format that allows RGBA.
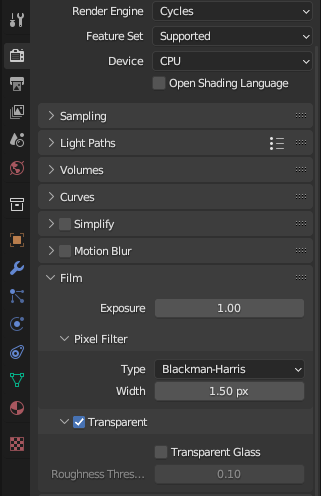
Under rendering properties -> film you can choose to have a transparent background. Later (via post-processing) you can change the background to a single color.
How to set the background to a specific color in Blender is explained in the following.
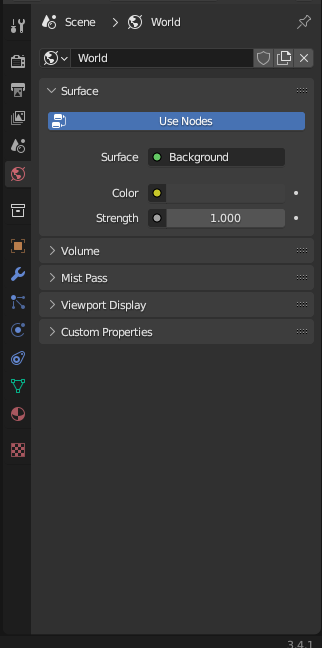
Under world properties -> surface you can change the world’s background color and light strength.
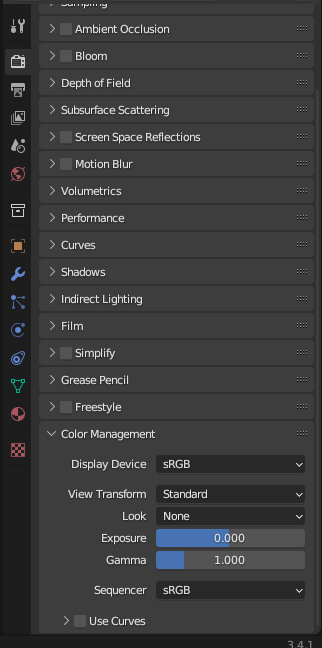
If you don’t want to focus on creating photo-realistic images, you can set rendering properties -> color management -> view transform to standard (instead of filimc). It will decrease the rendering time as it stops Blender from adding an extra color transformation to your image.
Having the view transform set to standard further allows the background to appear in the color set in world properties -> surface .
For more information, e.g. about Eevee and Cycles and specific settings see Blenders Rendering docs.
Automatic Setup
pyddg provides some utilities to setup a the rendering options quickly.
To setup the rendering engine one can use setup_eevee_renderer()
or setup_cycles_renderer() to setup eevee or cycles respectively.
For setting image output properties, e.g. image path and format, you can use the function
set_render_output_images().
To make the background transparent,
use set_film_transparency().
To adjust the ambient light in Blender,
use set_world_background().
There is no utility function for setting the view transform yet, but you can use Blenders python bpy.
import bpy
bpy.context.scene.view_settings.view_transform = 'Standard'
Rendering
Single Image
To render, hit F12.

This opens a new window containing the rendered image. You can manually Save the image.
In some context, one wants to automatize the triggering of
the rendering and/or select which frame to render.
The functions render_frame()
and render_animation() are here for that. Note that, one can pass the explicit path of the output directly to either function or set a default output path and format beforehand using set_render_output_images().
It’s also possible to add a custom render stamp to the output using set_render_stamp_note().
Animation
Once one has created an animated scene,
it can be rendered by hitting Ctrl-F12 or by using
render_animation() inside the script.
If you have specified a movie output format a movie will be created and saved in the given output directory. This is highly not recommended, see also Blenders Rendering Animations docs. Instead you should render single frames and later combine them to a video (see below).
Hints for making animation rendering more stable:
favor
clear_callback()overhide_callback()andoverwrite_callback()to save extra memory.prefer
render_animation()over using Ctrl-F12apply other tips and tricks listed in Preventing Blender from crashing
Post Processing Images
Change Transparency to Color
Using imagemagick’s command line tools:
For changing the background color of a single image:
convert input.png -background white -alpha remove -alpha off output.png
For changing the background color of all png files in a directory:
for file in *.png; do convert -background white -alpha remove -alpha off "$file" $(basename "$file"); done
Combining Multiple Frames to an Animation
You can use ffmpeg’s command line tools:
For creating a video from many images:
ffmpeg -f image2 -framerate 24 -i %04d.png output.mp4
The syntax %04d.jpeg specifies to use a decimal number composed
of three digits padded with zeroes to express the sequence number.
It is the same syntax supported by the C printf function,
but only formats accepting a normal integer are suitable.
Alternatively you can for example use Blender’s Video Sequencer to combine images to a video. There are lots of helpful Youtube videos.