Scripting in Blender
In the following, it is explained how to get started with scripting and using pyddg in the Blender GUI with Blender 3.4.
Note
The Blender docs provide a detailed overview of the Blender GUI under Blenders User Interface. You can find detailed information on Blenders python API in Blenders Python API docs.
Launching Blender
Start Blender according to your OS:
Linux and WSL
export PATH="$HOME/blender/blender-3.4.1:$PATH"
export PYTHONPATH="venv/lib/python3.10/site-packages/"
source venv/bin/activate
blender
MacOS
export PATH="/Applications/Blender-3.4.1-pyddg.app/Contents/MacOS/:$PATH"
export PYTHONPATH="venv/lib/python3.10/site-packages/"
source venv/bin/activate
Blender
Windows
"C:\Program Files\Blender Foundation\Blender 3.4\blender.exe"
or by double-clicking on blender.exe or the Blender icon on your Desktop.
Warning
If you close the terminal from which you started Blender, it will kill Blender instantly without saving!
Note
For MacOS, Linux and WSL you need to cd into the directory where
you have created your virtual environment.
You may need to change the path to Blender, if you have installed it in a different
location or a different version.
Output and Error Messages
The outputs and error messages of scripts executed within Blender are printed in the terminal you started Blender with. Error messages also appear in Blender’s info editor (see below), which is not the case for outputs of print statements.
On Windows you can activate a console using the Menu: Window > Toggle System Console.
Workspaces
The Blender window is subdivided into different sections, called areas. Each area is of a specific editor type. A workspace is a selection of editors in the Blender window.
In the top bar, you can choose from different presets. The scripting workspace provides a useful setup for scripting in Blender. The corresponding editors will be explained below.
You can also customize the workspace and select editors manually as follows. To create a new area, split up an area into two. To do this, hover the mouse cursor over one of the corners until you see a cross. Then, drag the cross to create the new area. To delete an area, drag it into a neighboring area in the same way.

In the top left corner of each area, you can now select an editor type.
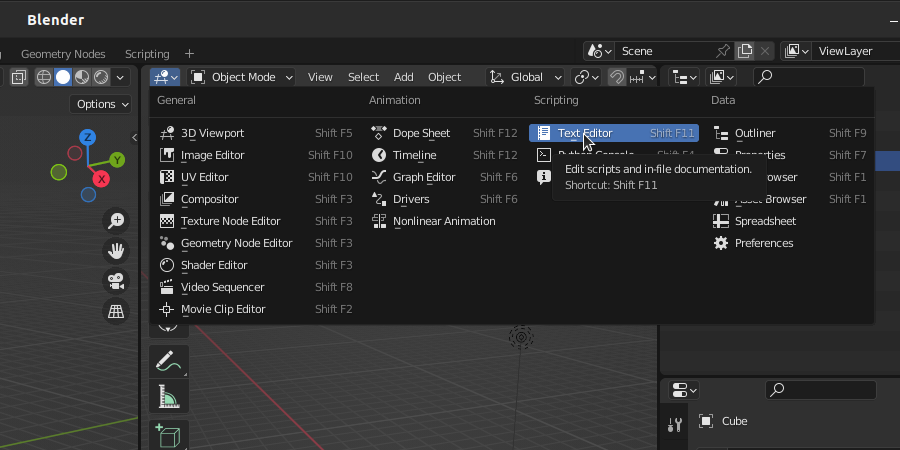
For further information, see the Blender docs under `Areas`_ and Editors.
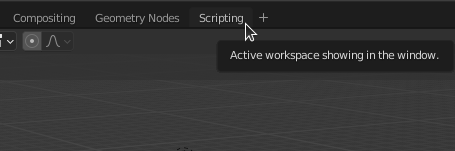
Scripting Workspace
In the top bar of the Blender window, click on “Scripting”, to choose the Scripting workspace.
Now, the window is subdivided into different areas. Next to the “Outliner” and the “Properies” editors on the right, there are 4 areas with editor types “Viewport”, “Python Console”, “Text Editor” and “Info”, which are explained below.
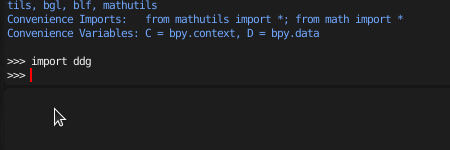
Python Console
The Python Console is usually used for testing short code snippets. Import pyddg with
import ddg
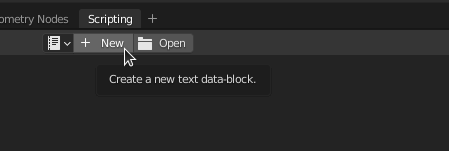
Text Editor
With the Text Editor you can edit and execute existing python scripts or write new ones. To create a new python script, click “New”.
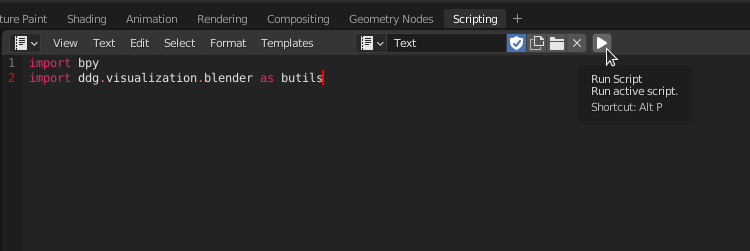
A script starts with importing ddg, possibly bpy (Blenders Python API), and all other packages and modules that are needed. This could be for example:
>>> import ddg
>>> import bpy
>>> from ddg.datastructures.halfedge.surface_generator import cube
Execute the script with Alt+P or by clicking the play button.
In the script you can implement your geometric constructions and visualize them in Blender:
>>> cube1 = cube()
>>> blender_object = ddg.to_blender_object(cube1)
When getting started you should first learn about The functions to_blender_object and to_blender_object_helper and then follow the links within for more information on visualizing the different types of ddg objects.
When executing a script multiple times it immediately becomes clear that objects are not removed and will be stacked (also there is the default Blender cube in a new document that we usually don’t want). Therefore clearing objects is an essential part when using the library in Blender.
A minimal example of a script would look like this:
>>> import ddg
>>> from ddg.datastructures.halfedge.surface_generator import cube
>>> from ddg.visualization.blender.scene import clear

>>> clear()
>>> cube1 = cube()
>>> blender_object = ddg.to_blender_object(cube1)
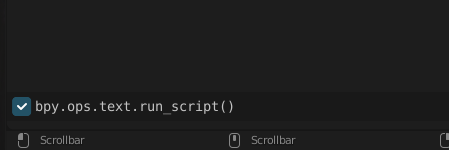
Info Editor
The Info editor lists executed operators, warnings and errors in Blender. Here you can check if the script was properly executed or failed.